Front and Rear Dash Cam Setup Guide — Installation, Wiring, and Best Practices
How to install front and rear dash cam: wiring routes, hardwire vs plug-in, cable hiding, and avoiding common installation mistakes.
Installing a front-and-rear dash cam system is the most challenging part of dash cam ownership. The cameras themselves are simple — mount on windshield, plug in, done. But running rear camera cable through vehicle interior, hardwiring for parking mode, and hiding cables for clean installation requires patience and basic skills.
This article uses VIOFO and BlackVue installation guides, Dashcam Talk forum experience, Reddit r/dashcam community feedback, and ChrisFix YouTube DIY tutorials to outline practical dash cam installation. Topics include planning the route, hardwire vs plug-in power, cable hiding techniques, common mistakes, and DIY vs professional installation.
For complementary content, see best dash cams 2024 and parking mode dash cam.
Planning the installation
Before starting installation, decide:
Power approach: cigarette lighter plug (simple, visible cable) or hardwire (clean, enables parking mode). Hardwire requires opening fuse box and connecting to ACC and constant 12V circuits.
Rear camera placement: top of rear windshield (best view) or behind rear-view mirror (cleaner aesthetic, partial view). Top of windshield is the standard choice.
Cable route: typically front dash cam → up to headliner → across ceiling → down rear pillar → to rear windshield. Length needed: 20ft for sedans, 25-30ft for SUVs and trucks. Most dash cams include 20ft cables.
Time budget: 1-2 hours for first DIY installation. Faster on subsequent installs. Professional installs run 30-60 minutes including testing.
Tools needed
Most installations require:
- Plastic pry tools (don’t damage trim) — $5-10 set on Amazon
- Phillips screwdriver
- Cable ties or 3M cable clips
- Microfiber cloth and isopropyl alcohol for windshield prep
- Multimeter (only if hardwiring) — $15-25
For hardwiring specifically: fuse circuit tester, wire strippers, electrical tape.
Step-by-step installation
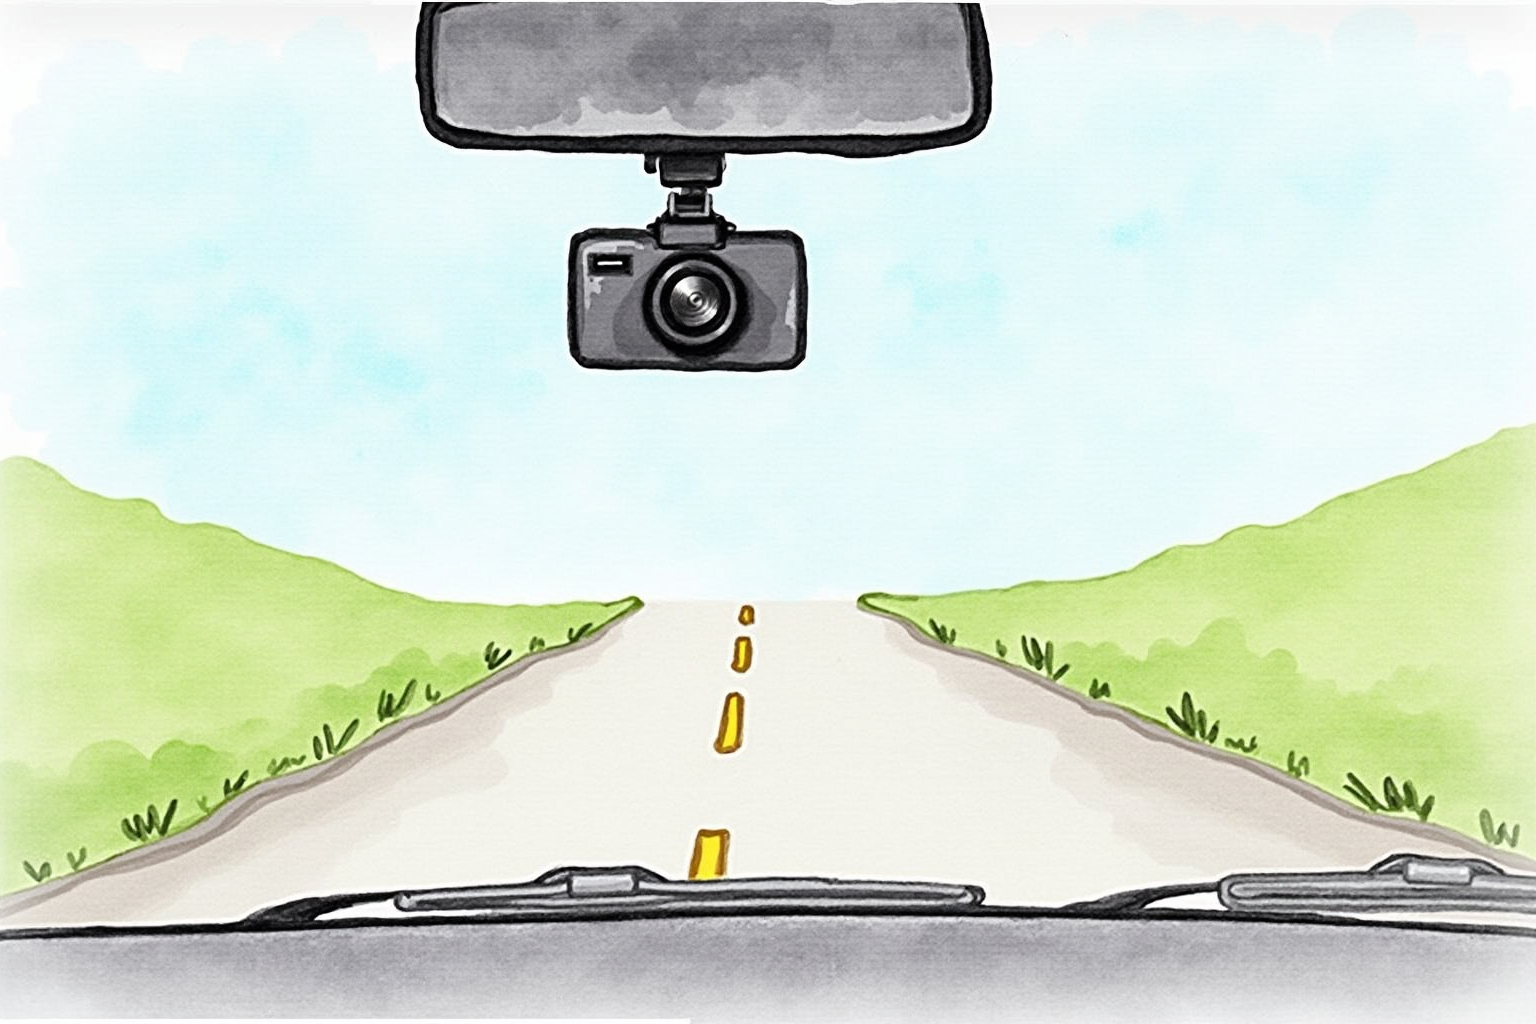
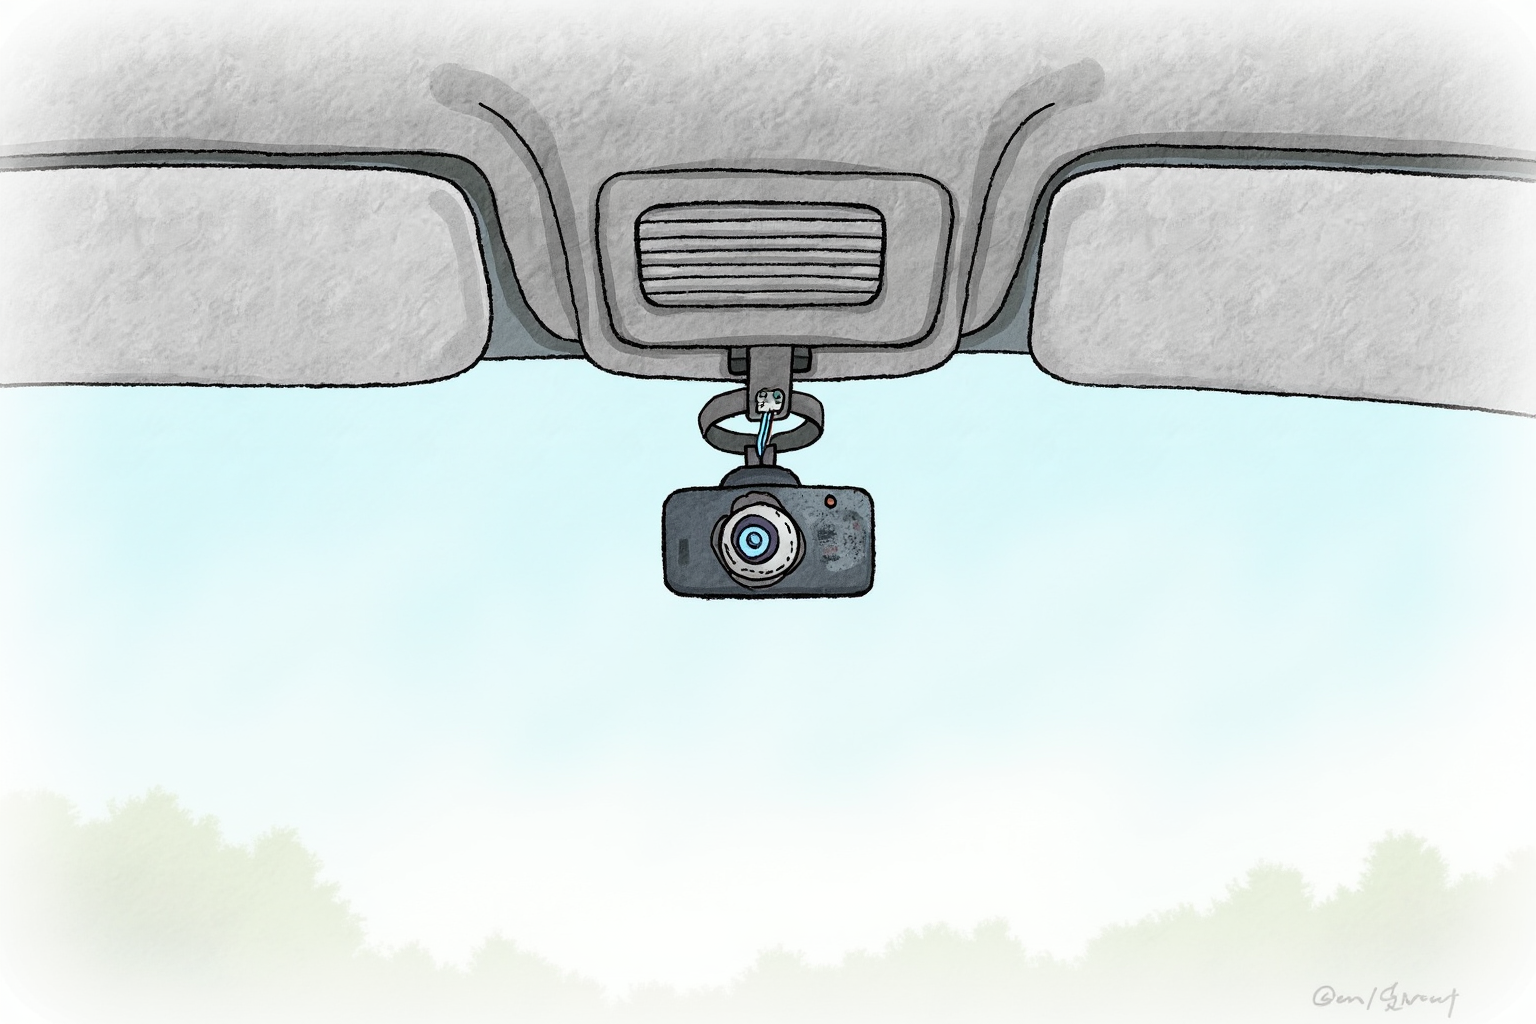
Step 1: Plan and mount front camera
Choose location: high on windshield, behind rear-view mirror, not blocking driver’s view. State laws vary on placement; check yours.
Clean windshield with microfiber cloth and isopropyl alcohol. Wait for surface to fully dry.
Apply dash cam mount (3M VHB adhesive on most models). Press firmly for 30 seconds. Some dash cams use suction cup mounts (less permanent but lower trust).
Wait 24 hours before stressing adhesive mount.
Step 2: Mount rear camera
Clean rear windshield (top center area). Apply rear camera mount per same procedure.
Plan rear cable route to avoid: rear window defrost lines (some adhesives interfere with defrost wiring), tinted film edges (heat can affect adhesive over time), rear wiper if applicable.
Step 3: Route rear camera cable
This is the most challenging step. Standard route:
- Start at front dash cam, route cable up to headliner (ceiling fabric)
- Tuck cable behind A-pillar trim — pry trim slightly with plastic tool, push cable behind, replace trim
- Run cable along headliner edge (usually a natural channel)
- At rear of vehicle, route cable down rear pillar (similar pry-and-tuck technique)
- Reach rear windshield mount, connect to rear camera
For SUVs and trucks with longer cabin, may need cable extension. Available from same dash cam manufacturer.
Caution: don’t over-tighten cable. Should be loose enough to flex with body movement but tight enough to stay hidden.
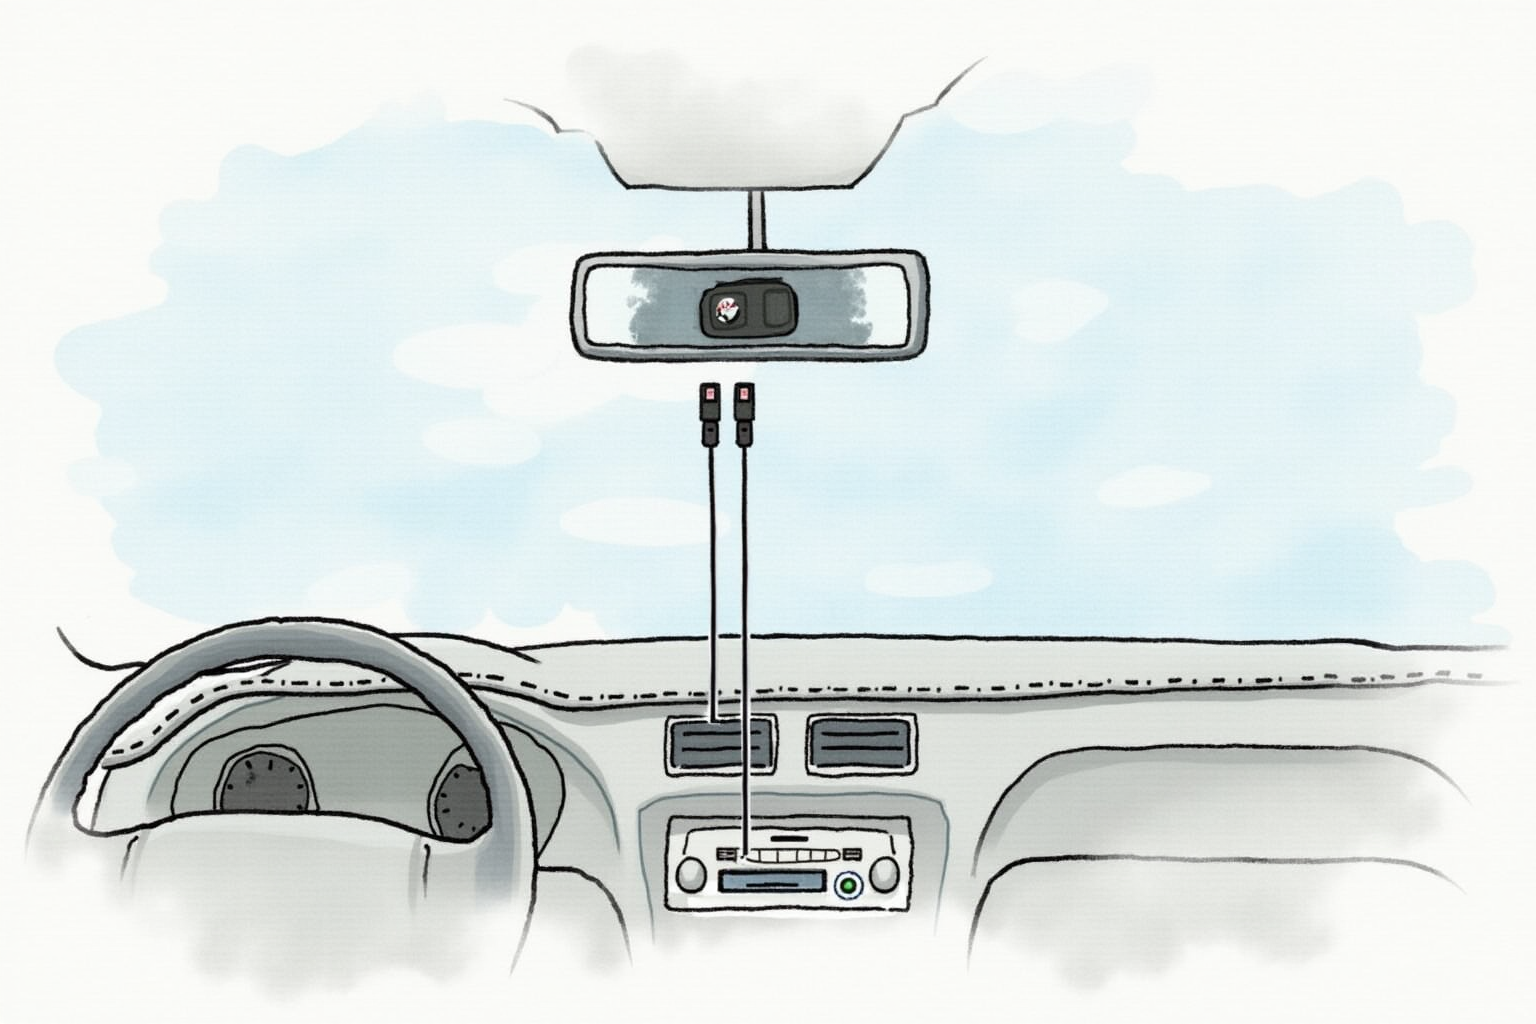
Step 4: Power connection
Cigarette lighter (plug-in):
- Plug dash cam power cable into cigarette lighter port
- Route cable up dashboard to dash cam
- Hide cable behind trim where possible
Hardwiring:
- Access fuse box (usually under steering wheel or in glove box)
- Identify ACC fuse (powered when key is on) and constant 12V fuse
- Use hardwire kit fuse tap to connect dash cam power leads
- Connect kit’s ground wire to chassis ground bolt
- Test with multimeter: ACC should show 12V when key on, 0V when off. Constant should always show 12V.
VIOFO HK4 Hardwire Kit with Low-Voltage Cutoff
Price · $20-30
+ Pros
- · Includes low-voltage cutoff to prevent battery drain
- · Easy fuse tap connection
- · Compatible with most dash cams
- · Includes installation guide
− Cons
- · Requires fuse box access
- · Some electrical knowledge needed
- · Better with multimeter for verification
Step 5: Test installation
Start car. Verify:
- Front dash cam powers on
- Rear camera shows in app (Wi-Fi enabled dash cams) or recording indicator visible
- Both cameras record (check storage usage)
- Audio recording works if desired (may want to disable for privacy)
- GPS lock acquired (1-3 minutes typically)
Turn off car. Verify:
- Plug-in: dash cam shuts off
- Hardwire: dash cam enters parking mode or shuts off cleanly
Drive for 5 minutes. Stop. Review video on app to confirm quality and angle. Adjust angle if needed.
Common mistakes
Per Dashcam Talk forum and Reddit feedback:
Blocking driver view: state regulations vary. California requires placement in specific dashboard zones. Most states allow upper windshield placement.
Forgetting to remove protective film: some cameras ship with film on lens. Recordings will be blurry until removed.
Routing cable through airbag area: dangerous. Airbag deployment can damage cable and cause cable to become projectile.
Hardwiring to wrong circuit: connecting to circuit that doesn’t shut off with key. Dash cam runs constantly, drains battery.
No low-voltage cutoff: parking mode without cutoff drains battery in 1-3 days. Always use hardwire kit with cutoff.
Loose cable: vibration damages connections over time. Secure cables every 12-18 inches.
Tinted window interference: some dash cams have polarizing filters that interact with window tint creating purple haze in video.
When to call a professional
Professional installation ($50-150 at car audio shops) is reasonable if:
You’re uncomfortable with vehicle electrical work. Mistakes can cause electrical issues, blown fuses, or battery drain.
You have a luxury or new vehicle. Improper installation may void warranty in some cases.
You want clean, hidden installation. Professionals have experience hiding cables in vehicle-specific routes.
You’re installing in difficult vehicle. Some vehicles (Tesla, certain Toyotas) have unusual fuse box layouts.
For most drivers in older or mainstream vehicles, DIY installation is achievable with 1-2 hours of patience.
Bottom line
Front and rear dash cam installation is achievable DIY for most drivers willing to invest 1-2 hours. Key decisions: cigarette lighter (simple, visible) vs hardwire (clean, parking mode capable).
For hardwiring, always use hardwire kit with low-voltage cutoff. VIOFO HK4 ($20-30) is widely compatible and includes proper cutoff. Test installation thoroughly before relying on it.
For professional installation, $50-150 at car audio shop is reasonable for users uncomfortable with electrical work or wanting clean hidden installation.
Allow extra time for first installation — subsequent installations are much faster.
For complementary reading, see best dash cams 2024, parking mode dash cam, and the car electronics category.