Black Ice at the First Freeze: A Bridge, Ramp, and Braking Plan
Prepare for first-freeze black ice with a route, bridge, ramp, following-distance, and controlled-braking plan grounded in federal and state safety guidance.
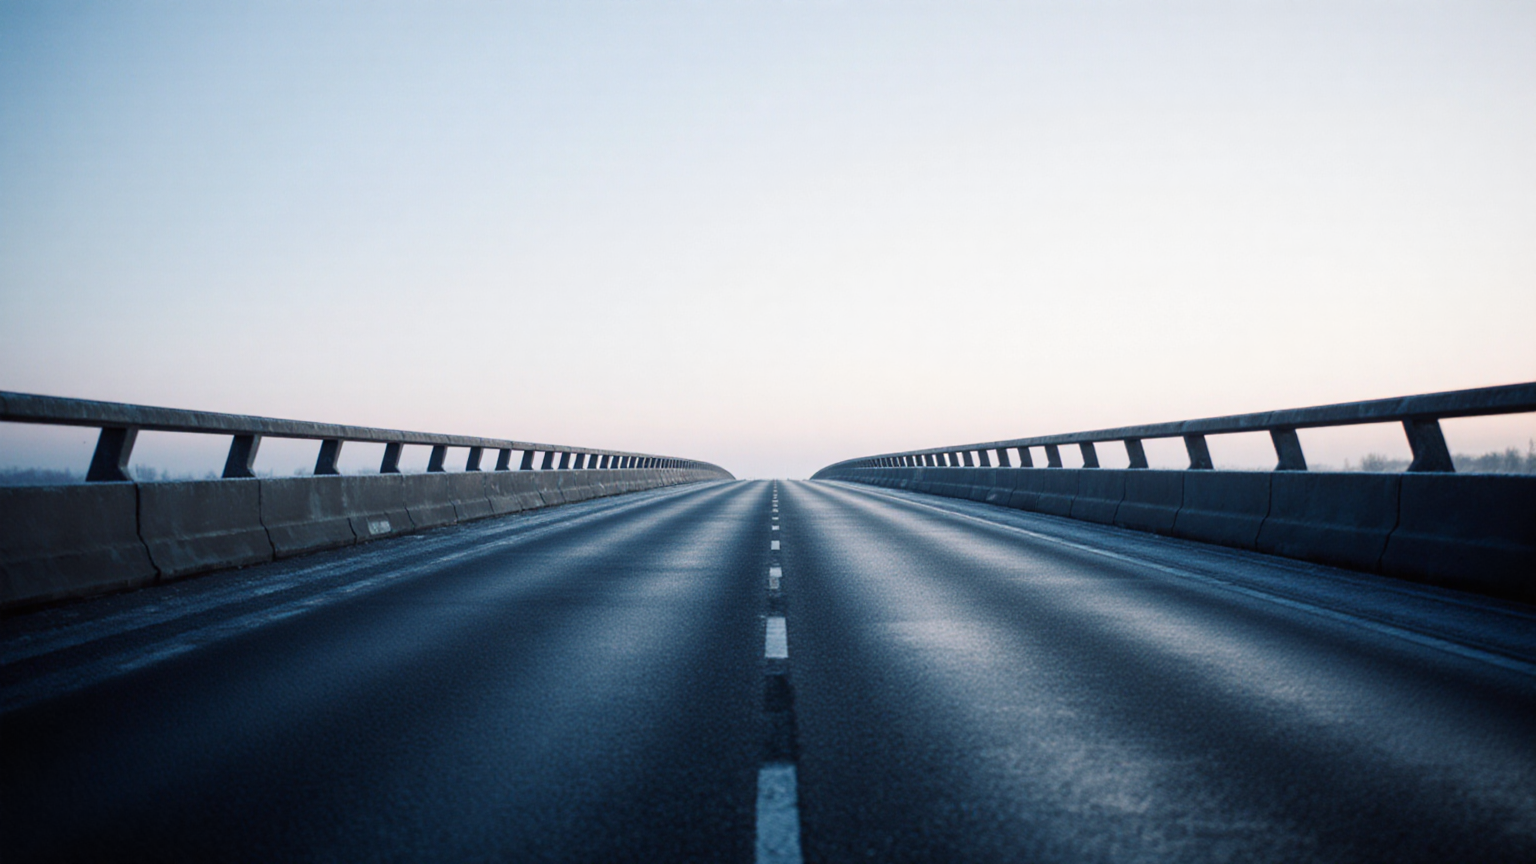
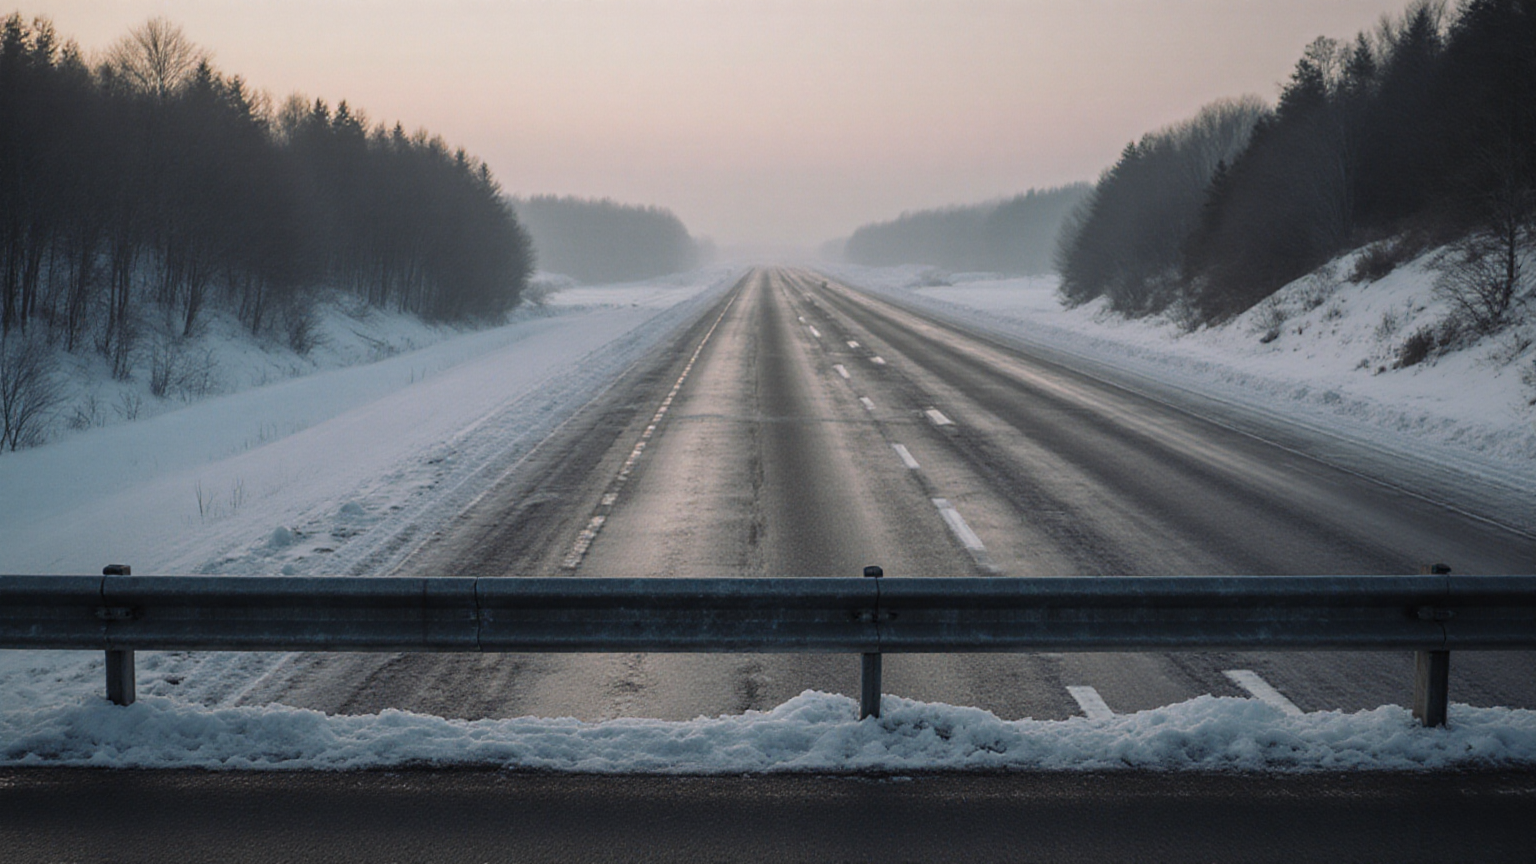
The first freeze is dangerous partly because the road may still look familiar. Air temperatures hover near freezing, pavement can differ from the dashboard reading, and a thin transparent glaze may reveal itself only when steering or braking grip disappears. Bridges, elevated ramps, shaded curves, low spots, and untreated local roads can freeze while nearby pavement remains merely wet.
A safe plan begins before the tires reach that patch. Check official forecasts and road conditions, decide whether the trip can wait, prepare the vehicle, reduce speed before a bridge or ramp, create a much larger gap, and keep every control input smooth. If the road may be icy, the goal is not to discover the maximum available grip. It is to avoid demanding more grip than the surface can provide.
The first-freeze decision in 30 seconds
Use this sequence before leaving:
- Read the forecast, not just the current temperature. Look for freezing rain, drizzle, fog, refreezing, frost, and temperatures crossing 32°F or 0°C.
- Check the road authority. Official cameras, closures, treatment status, and incident reports describe the route better than a generic weather icon.
- Name the cold structures. Bridges, overpasses, elevated ramps, shaded grades, tunnel approaches, and low drainage areas deserve an earlier speed reduction.
- Set a delay threshold. Freezing rain, an ice-storm warning, untreated hills, closed roads, or inadequate tires can make “do not go yet” the correct answer.
- If travel remains necessary, remove urgency. Leave early, use a lower-risk route, clear every window, and expect the trip to take longer.
The National Weather Service’s winter safety hub emphasizes preparedness before a storm, while its during-storm guidance says to avoid travel when possible and, if stranded, generally stay with the vehicle. Those are risk controls, not signs of timidity. No technique in this article overrides a closure, emergency instruction, or safe opportunity to postpone.
Why the bridge can be ice when the road is wet
An ordinary road exchanges heat at its upper surface and receives some thermal buffering from the ground. A bridge deck is exposed to cold air above and below. It can lose heat faster and cross the freezing point while adjacent ground-supported pavement stays warmer. Elevated ramps share this exposure and often add curves, grade changes, expansion joints, and less room for recovery.
Surface temperature also differs from air temperature. A clear overnight sky can cool pavement; shade can delay warming; meltwater can run onto a colder section and refreeze. Exhaust, traffic, treatment, pavement material, wind, and solar exposure make conditions vary over short distances. “My dashboard says 35°F” is therefore not a clearance certificate.
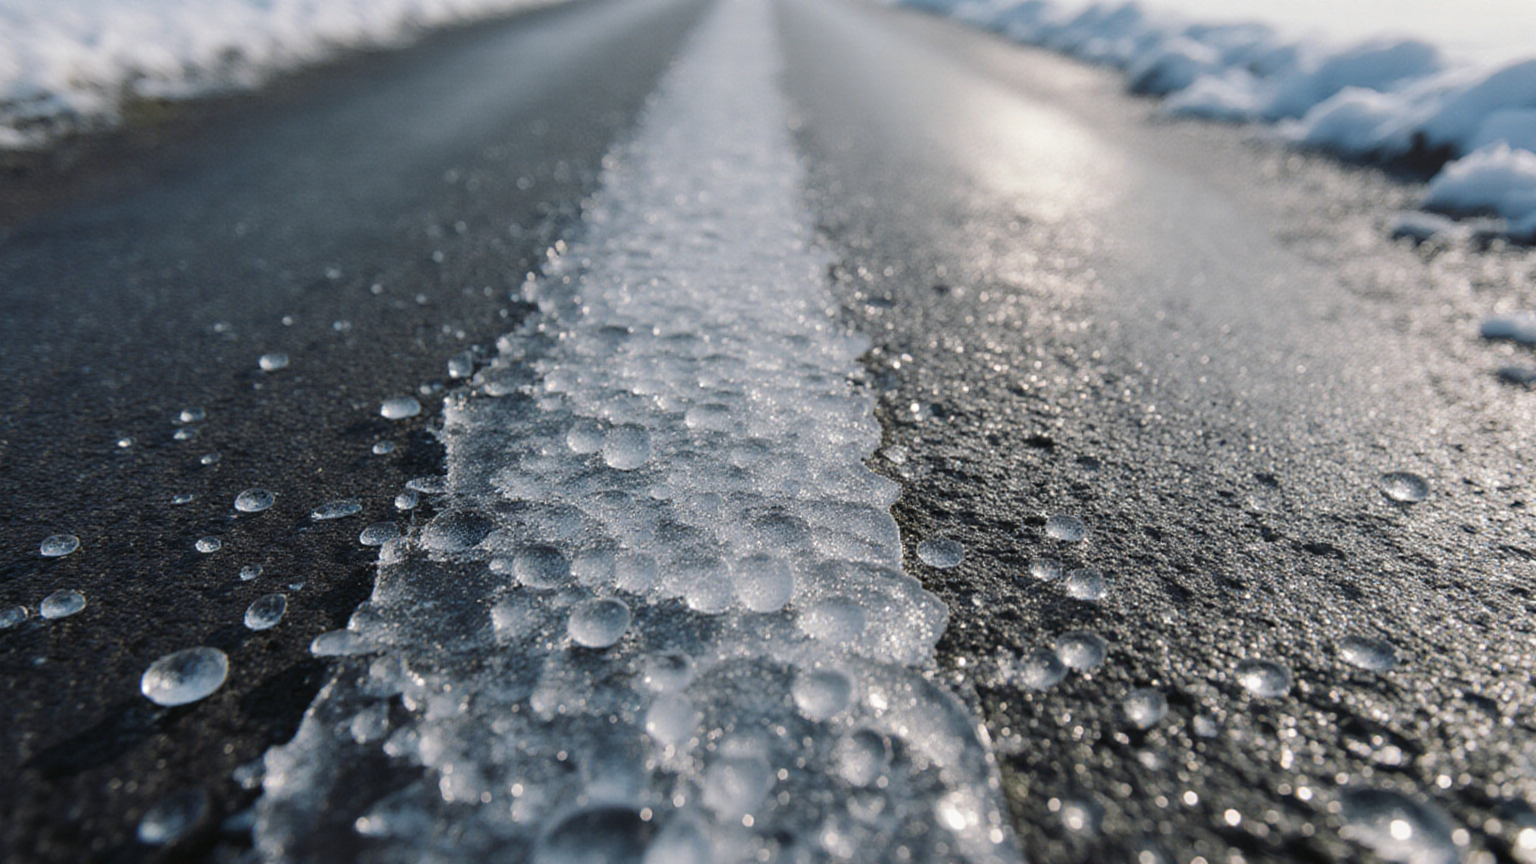
FHWA explains that snow and ice reduce pavement friction and can sharply affect vehicle control and traffic flow (road-weather impacts). Black ice is difficult precisely because a transparent film may resemble dark wet pavement. Look for a sudden loss of tire spray from vehicles ahead, a glossy patch, frost on railings or vegetation, vehicles moving unusually slowly, or brake lights near the same structure. These clues justify caution; their absence does not prove grip.
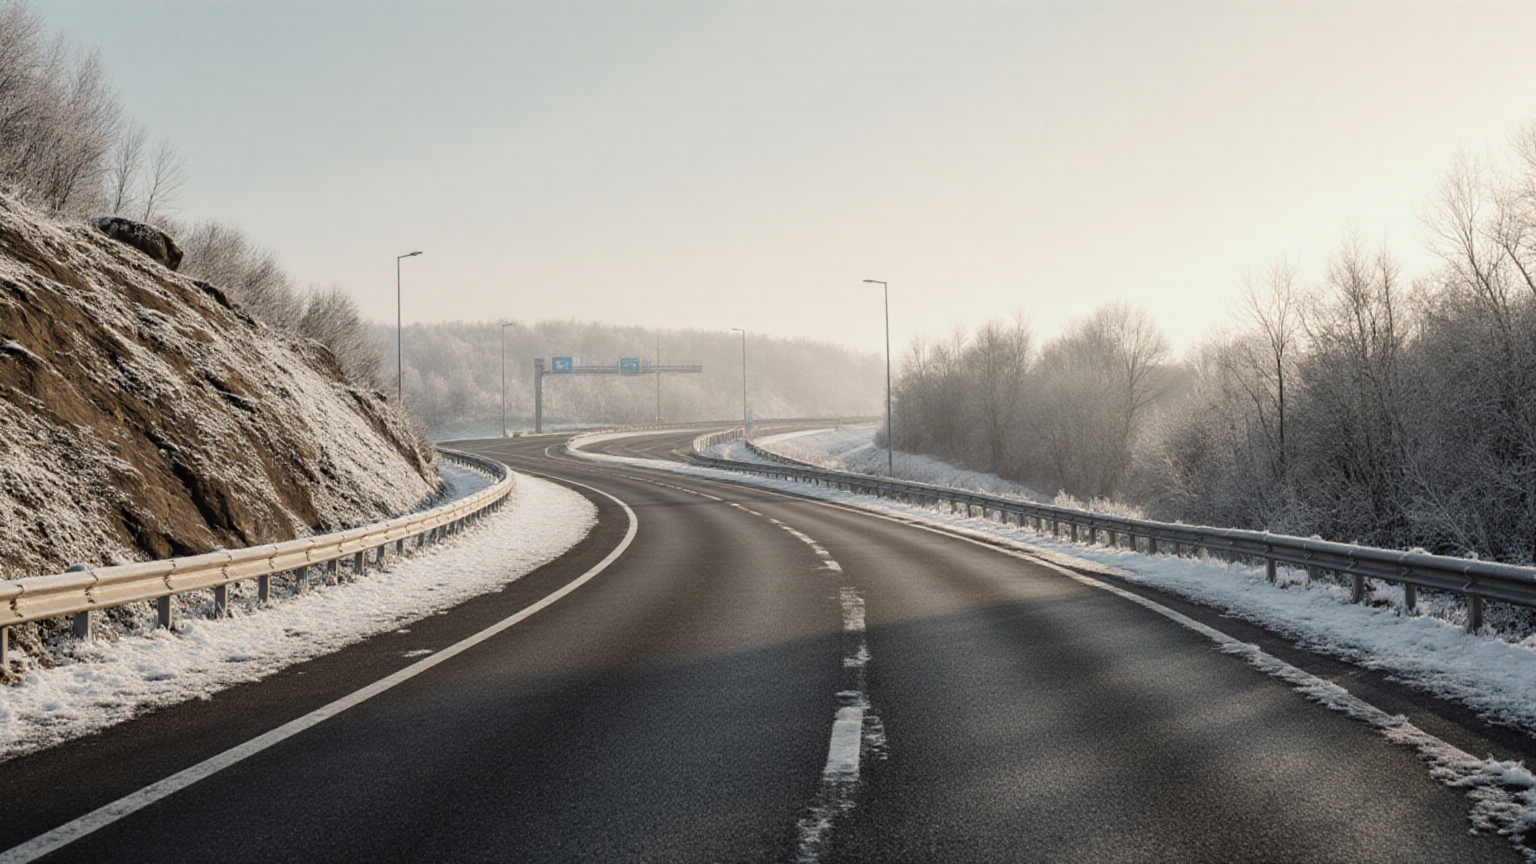
Bridge, ramp, and grade plan
| Zone | Before entering | While crossing | If conditions are uncertain |
|---|---|---|---|
| Straight bridge | Finish meaningful slowing on known good pavement; lengthen gap | Hold a steady path and gentle throttle; avoid lane changes | Continue smoothly to a safe turnout; do not stop on the bridge to inspect |
| Curved elevated ramp | Reduce speed before the curve; choose the lane early | Look through the curve and avoid abrupt steering or braking | Skip the ramp and use a treated, flatter route if available |
| Downhill overpass | Crest slowly enough that gravity will not force heavy braking | Use a low, steady speed; keep a very large gap | Delay if traffic queues beyond the crest or treatment is unknown |
| Shaded underpass approach | Expect runoff and refreeze near the shadow line | Keep inputs smooth and scan vehicles ahead | Treat a wet-looking dark band as potentially frozen |
| Stop-controlled ramp | Begin deceleration much earlier on the straight approach | Use progressive pressure; do not count on a normal stop point | If a queue leaves no margin, avoid entering the ramp |
Minnesota DOT’s live 511 map provides current road conditions for a route check before departure (Minnesota 511). Wisconsin DOT similarly emphasizes slower speed and increased following distance in winter conditions (WisDOT winter driving). These principles matter before the slick section. Braking hard after the front tires are already on ice spends the limited traction too late.
A ramp combines cornering and possibly braking. Tires have a limited traction budget: the more grip used to turn, the less remains to slow. Entering slower reduces both demands. Never accelerate toward an icy curve with the plan to “coast through,” and never make an abrupt lane cut to avoid one shiny strip.
Stopping math: a dry benchmark, not an ice prediction
The following is illustrative level, dry-pavement benchmark math only. It is not an ice model, legal stopping distance, recommended speed, vehicle test, or promise. Assume a 1.5-second perception-and-response interval and constant 0.70 g braking after pedal application:
- reaction distance = speed in feet per second × 1.5 seconds
- idealized braking distance = speed² ÷ (2 × 0.70 × 32.2 ft/s²)
- benchmark total = reaction distance + braking distance
| Assumed speed | Reaction distance | Dry benchmark braking | Dry benchmark total |
|---|---|---|---|
| 25 mph (36.7 ft/s) | 55 ft | 30 ft | 85 ft |
| 35 mph (51.3 ft/s) | 77 ft | 58 ft | 135 ft |
| 45 mph (66.0 ft/s) | 99 ft | 97 ft | 196 ft |
| 55 mph (80.7 ft/s) | 121 ft | 144 ft | 265 ft |
The calculation demonstrates two relationships: reaction distance rises with speed, while idealized braking distance rises with speed squared. It does not supply an ice multiplier. Real ice friction changes with temperature, water film, salt, surface texture, tire compound and tread, grade, load, and patchiness. A guessed multiplier would turn uncertainty into false precision.
For example, reducing the dry benchmark from 45 to 35 mph changes the calculated total from 196 to 135 feet, a 61-foot difference under these assumptions:
196 − 135 = 61 feet
That illustrates why early speed reduction can preserve space. It does not prove that 35 mph is safe on ice; even 10 mph can be too fast for a steep, untreated, curved surface. Pennsylvania DOT advises motorists to avoid sudden actions, allow extra distance, and adjust speed for winter conditions (PennDOT). Let visible road, official restrictions, traffic, grade, and actual conditions control the decision—not this dry table.
What to do when grip disappears
A slide is a signal that tire demand exceeded available grip. Your best response depends on vehicle, direction, speed, and whether front, rear, or all tires are sliding, but the general priorities are stable:
- Look toward the open path. Vision guides steering; do not stare at a guardrail.
- Ease off the accelerator. Abrupt throttle release can also unsettle some vehicles, so be smooth.
- Avoid a large steering correction. Turn gently toward the intended path; as grip returns, unwind the wheel so the car does not snap the other way.
- Do not stab or pump the brakes. If braking is needed in an ABS-equipped vehicle, use firm, controlled pressure and let ABS pulse. Follow the owner’s manual.
- Separate demands when possible. Reduce steering angle before asking for more braking.
- After recovery, slow progressively on better pavement and find a safe place off the travel lane. Reconsider the trip.
Electronic stability control and ABS help manage available traction; they do not create friction. All-wheel drive can help a vehicle accelerate, but it does not exempt all four tires from the same low-grip limits when braking or cornering. NHTSA’s winter driving tips emphasize vehicle readiness, tires, slower driving, and avoiding risky practices. Do not test a safety system by provoking a slide on a public road.
Following distance and traffic strategy
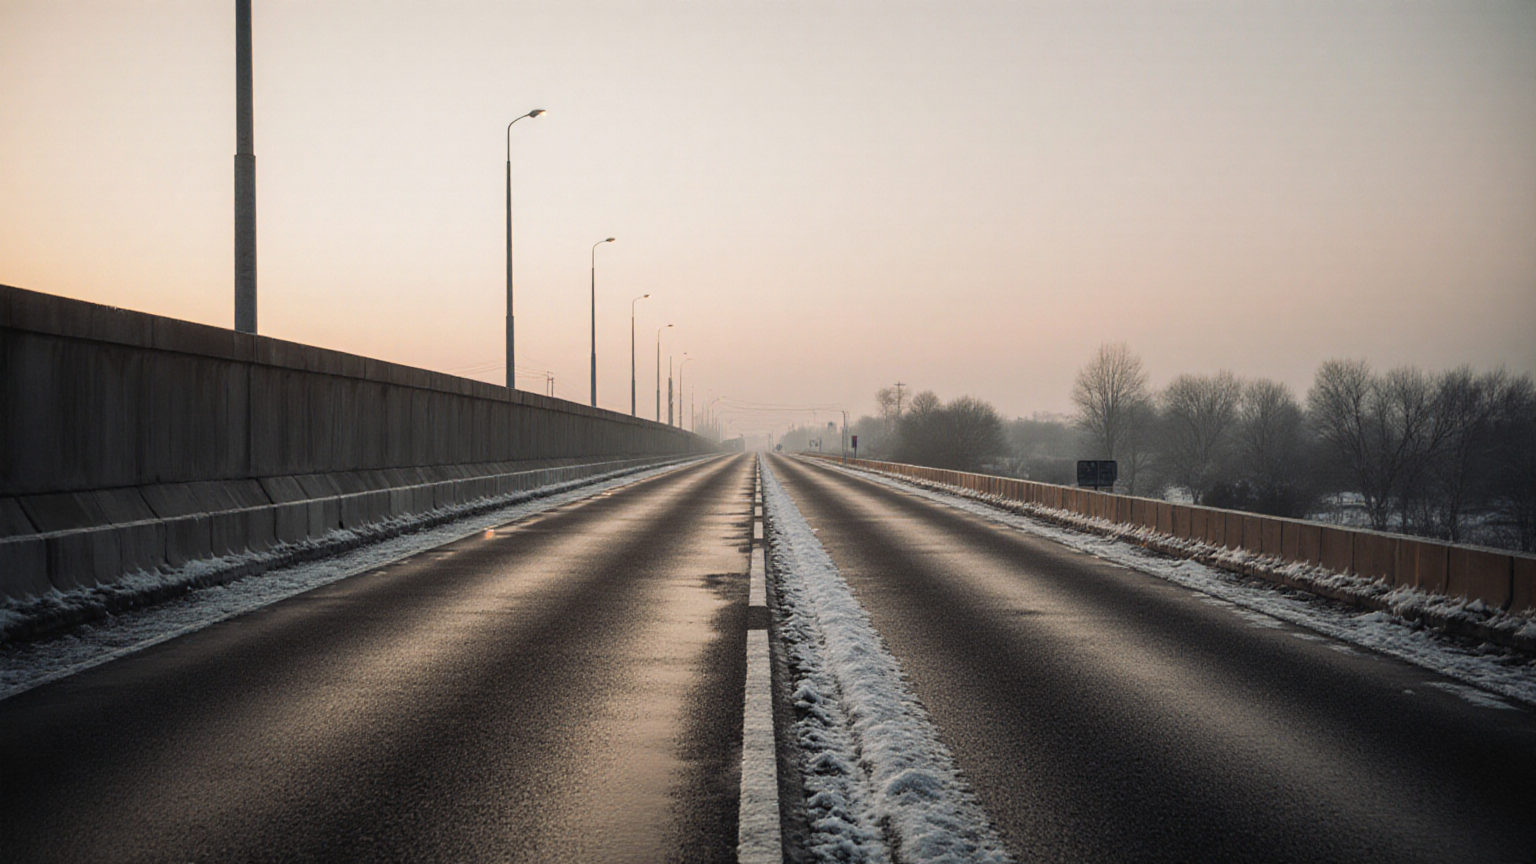
A fixed “three-second rule” is inadequate as a universal ice prescription. Create a far larger interval than on dry pavement and keep expanding it until you can make all needed speed changes gradually. Choose a fixed roadside point; when the vehicle ahead passes it, count seconds until you reach it. If traffic cuts into the gap, lift gently and rebuild rather than retaliating with abrupt braking.
Avoid driving beside another vehicle across a bridge or ramp. A staggered position creates more lateral space if either vehicle drifts. Do not tail a salt truck or snowplow for a better-treated strip. Road crews stop, turn, spread material, and throw snow or salt; give them the separation required by local law and agency instructions.
Do not use cruise control on potentially slick roads. A driver must feel changing traction and modulate power directly. Avoid unnecessary lane changes, especially across ruts, slush ridges, painted markings, metal joints, or differing treatment bands. Oregon DOT’s winter driving guidance stresses slowing down, increasing following distance, and carrying chains or using traction tires where required. Local traction-device rules take priority over general advice.
Before the first freezing morning
Complete this checklist while conditions are still dry:
- Check tire pressure cold against the vehicle placard, not the tire sidewall maximum.
- Inspect tread across each tire and address uneven wear or damage.
- Confirm the tire type is appropriate for the route and legal requirements.
- Test battery health if starting has weakened; cold exposes marginal batteries.
- Fill winter-rated washer fluid and replace ineffective wiper blades.
- Clean headlamps, cameras, windows, mirrors, and the inside windshield.
- Verify defrosters, heater, brakes, exterior lights, and warning indicators.
- Remove snow and ice from roof, hood, lamps, sensors, and every window before moving.
- Charge the phone; carry warm clothing, gloves, scraper, flashlight, water, and needed medicines.
- Save official 511 or road-agency sources before departure.
- Tell someone the route and expected arrival for remote travel.
- Keep fuel or charge margin for delays without idling in an unsafe enclosed area.
NHTSA advises checking tires, battery, cooling system, wipers, lights, and floor-mat installation and carrying emergency supplies before winter travel. Illinois DOT’s winter road-conditions map provides a current route check but cannot guarantee that every ramp or bridge is ice-free. For a more detailed visibility-and-warmth inventory, use the site’s emergency roadside kit guide. Tires also need adequate tread for water and slush evacuation; the wet-braking checklist shows how to inspect them without pretending tread alone makes ice safe.
If you become stranded
Move fully out of traffic only if the vehicle remains controllable and a genuinely safer location is reachable. Turn on hazard lights, call 911 for injury or immediate roadway danger, and contact the road authority or roadside assistance as appropriate. Give route, direction, nearest exit or mile marker, vehicle description, occupants, and medical needs.
In severe winter weather, leaving the vehicle can expose occupants to traffic, cold, poor visibility, and disorientation. NWS advises staying with the vehicle when stranded, making the vehicle visible, and running the engine only periodically while keeping the exhaust pipe clear to reduce carbon-monoxide danger (NWS during-storm guidance). Never run a vehicle in a closed garage. If snow blocks the tailpipe, shut the engine off until it is safely cleared.
Stay belted if traffic could strike the vehicle. Do not stand downstream of approaching traffic, between vehicles, on a bridge shoulder, or outside to photograph ice. Follow dispatcher instructions if fire, rising water, a precarious position, or another immediate hazard requires evacuation.
Explicit safety limitations
This article cannot determine whether your route is open, treated, legally passable, or safe now. It cannot observe your tires, brakes, visibility, vehicle load, driving skill, disability, medication effects, fatigue, or local traction-device law. Official closures, emergency alerts, chain controls, and police or road-crew directions supersede it.
Do not drive if freezing rain is underway, authorities advise against travel, the route is closed, the vehicle is not winter-ready, windows cannot be fully cleared, or fatigue, alcohol, cannabis, sedating medicine, illness, or anxiety prevents safe control. A lower speed does not make every trip acceptable. Delay, reroute, use transit, or stay overnight when the risk cannot be reduced enough.
Rain can coexist with freezing pavement. If the main problem is standing water rather than ice, use the hydroplaning plan. If darkness and spray hide surface clues, make sure the windshield is clear and use the wiper replacement guide before the trip, but do not let better visibility justify higher speed.
Frequently asked questions
Why do bridges freeze first?
A bridge deck loses heat from its upper and lower surfaces and lacks insulating ground beneath it. Wind and shade can increase cooling. Treat each bridge as a separate hazard zone even when the approach looks wet rather than frozen.
Should I brake before or on a bridge?
Make the meaningful speed reduction early on pavement you know has grip. Cross with a steady path and minimal control changes. Traffic may still require braking; if so, be progressive, preserve space, and let ABS work rather than pumping it.
Can I use the dry stopping table for ice?
No. It is benchmark math to show how speed changes reaction and idealized dry braking distance. It makes no ice prediction. Variable friction, grade, tires, and patchiness prevent a trustworthy generic multiplier.
Is four-wheel or all-wheel drive enough?
No. It may improve acceleration, but braking and cornering still depend on tire-road friction. Appropriate tires, lower speed, larger gaps, smooth inputs, and the decision not to travel remain essential.
What if the ramp looks shiny?
Reduce speed before it, avoid abrupt steering, and consider a different route. If the shiny area is discovered after entry, hold a smooth path and avoid sudden braking. Never stop on the ramp or shoulder merely to inspect the surface.
Bottom line
At the first freeze, assume bridges and elevated ramps may behave differently from ordinary pavement. Check official conditions, establish a no-go threshold, slow before the structure, enlarge the gap, and keep steering, throttle, and braking smooth. Treat every formula as a dry benchmark—not an ice forecast—and remember that postponing the trip is a complete safety plan, not a failure of driving skill.